|
PSU Removal
Disassembly
Inner Knob Parts
Reassembly
PSU Removal
First, power off your machine and pull the AC cord out of the back. Remove
any drive power cords from the receptacles on the side of the PSU. Unscrew the
blue PSU knob until it pops out of the 9595's case mounting point.
Caution: The knob will still be retained in the
PSU. Do not try to screw it out any further.
Remove the grounding strap retainer at the front outer edge of the PSU.
Carefully pull the top of the PSU out. It will resist unplugging from the
planar socket. Once the PSU has swung out, slide it towards the front until it
comes off the pivot pins.
Disassembly
First take out the two T15 security Torx at bottom of PSU case.
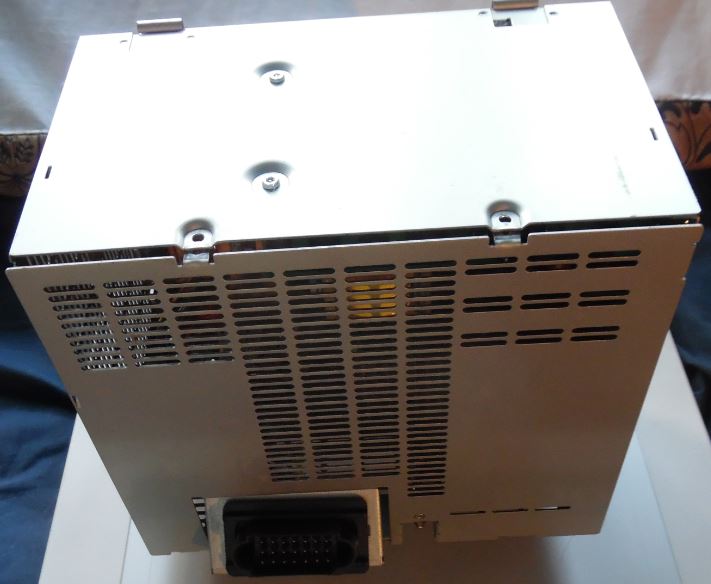
(9585 PSU shown, 95 PSU may be slightly different)
Note the stamped sheet metal is now only held onto the case by one small
screw by the PSU knob shaft and slotted tabs. Do not try to yank this side off,
the tabs will come out of the slots when you hold it at the proper angle.
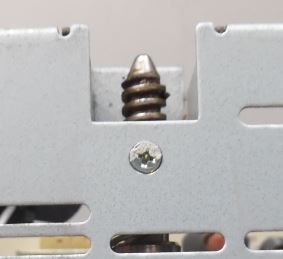
Side Phillips screw holding retainer - you could remove the small Phillips
screw and leave the power plug attached to the side. It is a little less room,
but still plenty...

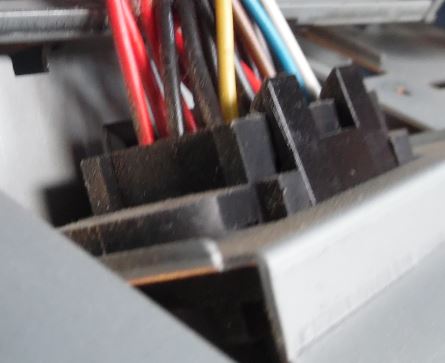
To remove the PSU plug, you need to unclip it from the "saddle".
Simply pull outwards on the retaining catches and pull the connector
down back into the case. You can work this thing one side at a time.
Top Phillips screw for retainer. Using a narrow bladed screwdriver, pry off
the e-clip. The retainer well will slide off the shaft.
This screw may be covered with a cable clip held on with adhesive tape...
Inner Knob Parts
The inner parts for the PSU Knob:
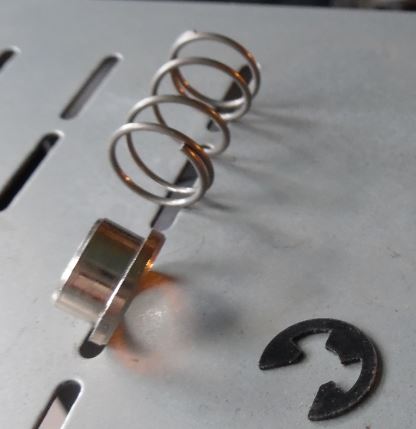
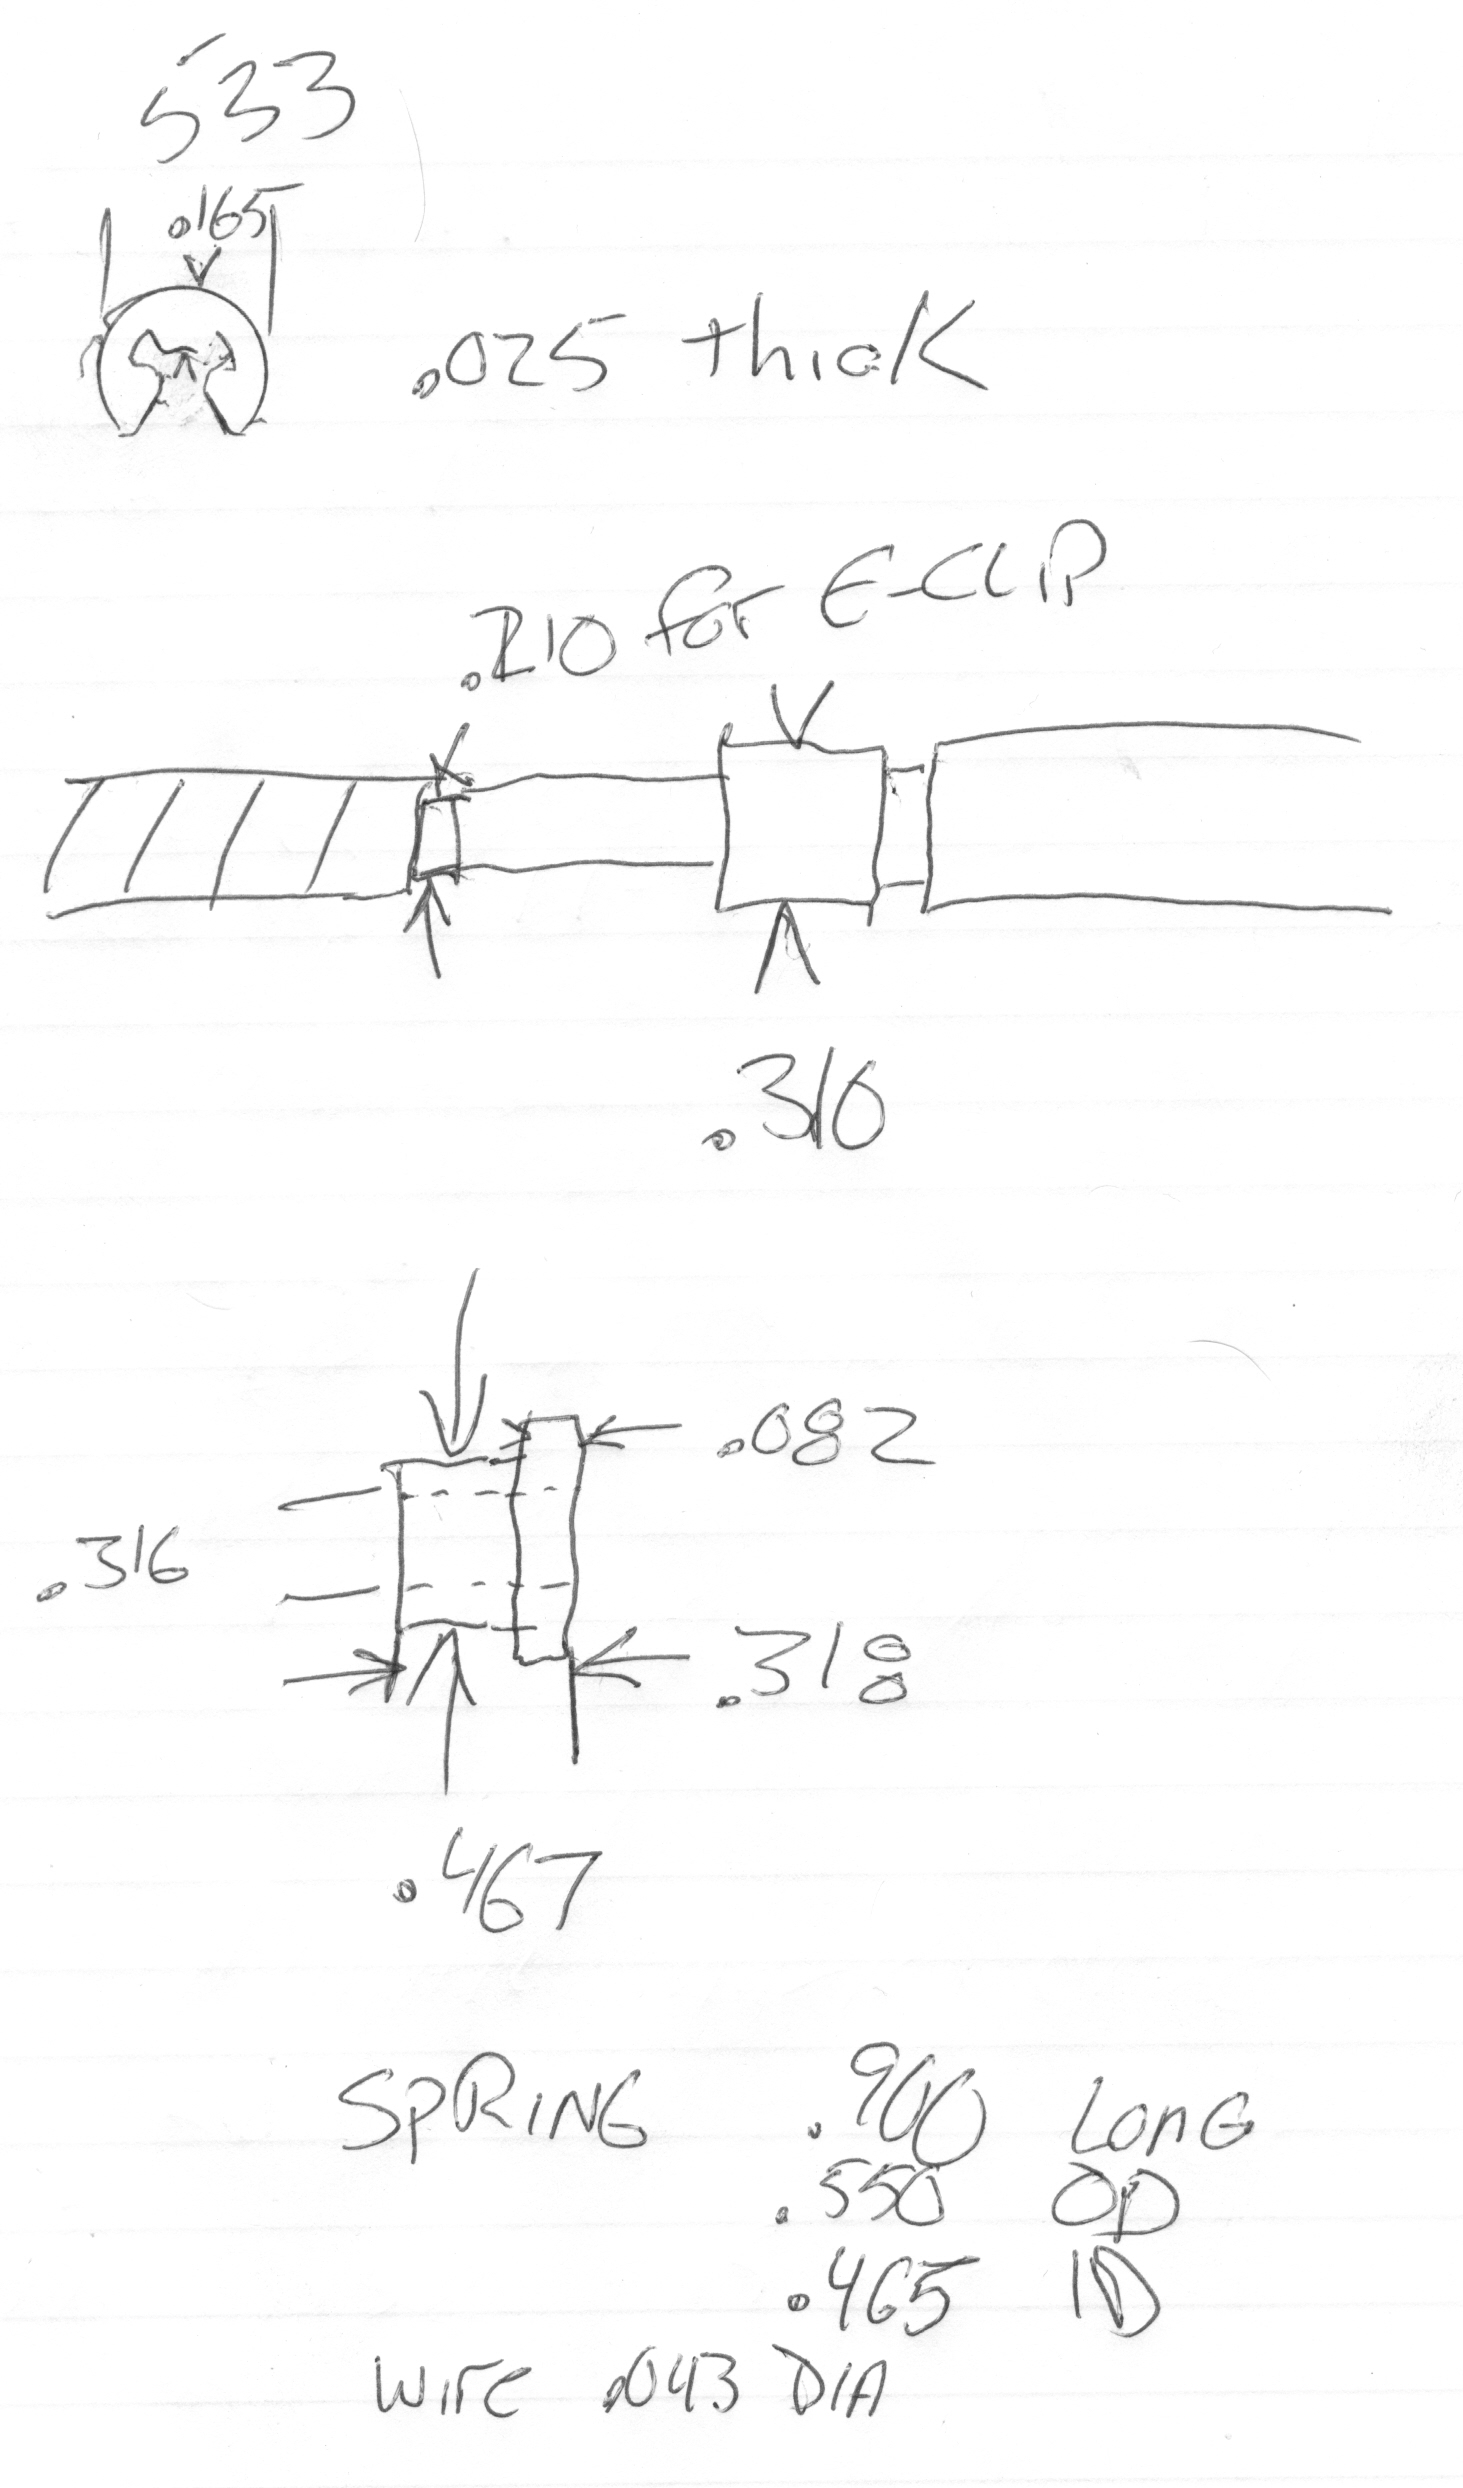
You see a flanged bushing, a spring, and an e-clip. Dimensions for inner
parts HERE (hand-drawn).
Bushing needs to slide over a .310 diameter shaft. It may be a bit loose,
but it will still work. The OD of .467 has to allow whatever spring you use to
fit over it. The flange OD has to be wide enough to provide a stop to the
spring. The space inside the PSU will allow quite a bit of freedom in choosing
a spring and bushing.
The bushing is wide enough to keep the spring from wobbling on the shaft. A
kludge for all of this would be a bushing with an ID to fit over the shaft, and
a washer with a suitable ID and OD to act as the flange. Bushing length is not
critical.
Spring length is .900, with a .465 ID. Note, if you substitute another
spring, the bushing you choose should allow a slightly tight fit. However, as
long as the spring is reasonably held in place, it should work.
Reassembly
PSU Knob shaft, bare:

PSU Knob shaft, bushing installed:
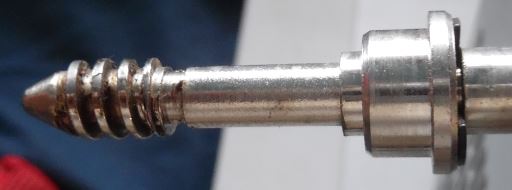
The bushing spins freely on the shaft.
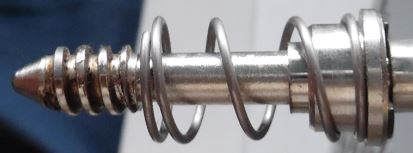
PSU Knob shaft, bushing and spring installed:
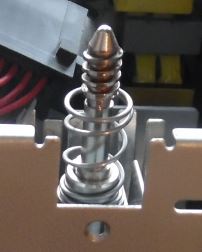
PSU Knob assembly inserted:
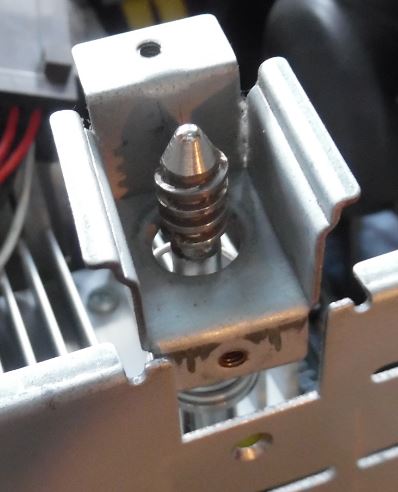
PSU Knob assembly, retainer mounted:
Don't worry about assembling this wrong, it only fits one way. The e-clip
fits around the .210 diameter groove just behind the threads. Use a wide bladed
screwdriver to push it on.
Fasten the retainer to the PSU case top. If you removed the power connector,
insert the saddle with the prongs (catches) pointing into the case, and slide
the power connector into the saddle until BOTH sides are secure. Insert the
tabs from the side back into the slots in the PSU case. Screw in the single
Phillips screw into the retainer. Now replace both Torx screws into the
bottom.
Replace the PSU in the reverse of removal. Done.
| 