|
Content by Marijn Kentie (original HERE). Edited by Major Tom.
Created: 17 Aug 2006, Modified: 01 Apr 2021
The original layout of the case. This had to be somehow mangled into ATX compliance.
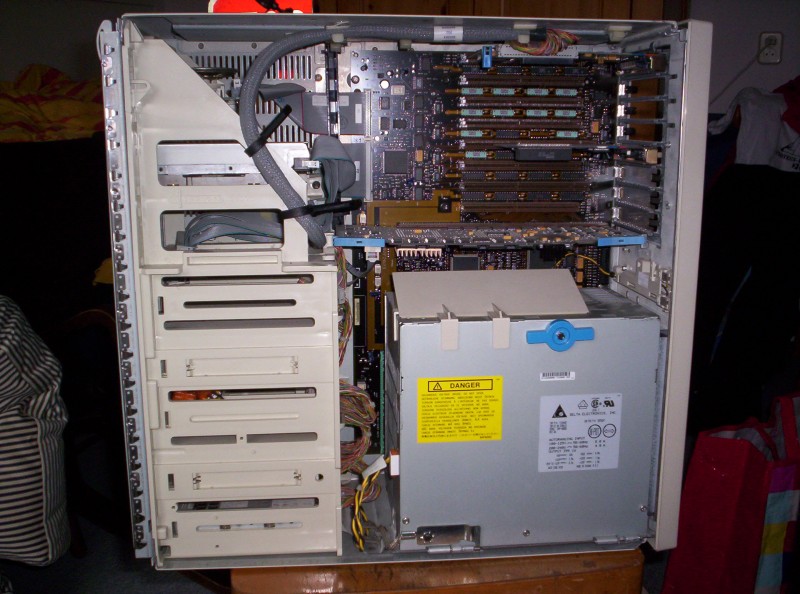
These were the most important but, unsurprisingly, also most time consuming steps. As can be seen the motherboard was originally mounted above the PSU, both of which are very different from standard PC parts. It's clear the the PSU is nothing like an ATX specimen, as a matter of fact it's three times as large. The way it's mounted is unique too. The PS/2 motherboard is huge, and both its mounting holes and expansion slot positions are nothing like those on a normal board. That the PSU was mounted beneath the motherboard wasn't much of a problem, and I chose to keep this layout.
Being able to keep the "PSU in bottom" layout allowed me to suddenly get a pretty good idea (if I say so myself): mounting an ATX motherboard tray on the original motherboard's screw holes. That way I would have both perfect screw holes for the actual ATX board and mounts for cards, while not having to drill into the actual case, which would be required to tap new holes as the case originally didn't have a tray. I took a motherboard tray out of an old case, and although I'd rather have had one with a 12cm fan mount this one did perfectly. As you can see, it has holes for all the different ATX flavors and whatever Taiwan case factory made it did so much more accurately than I ever could.
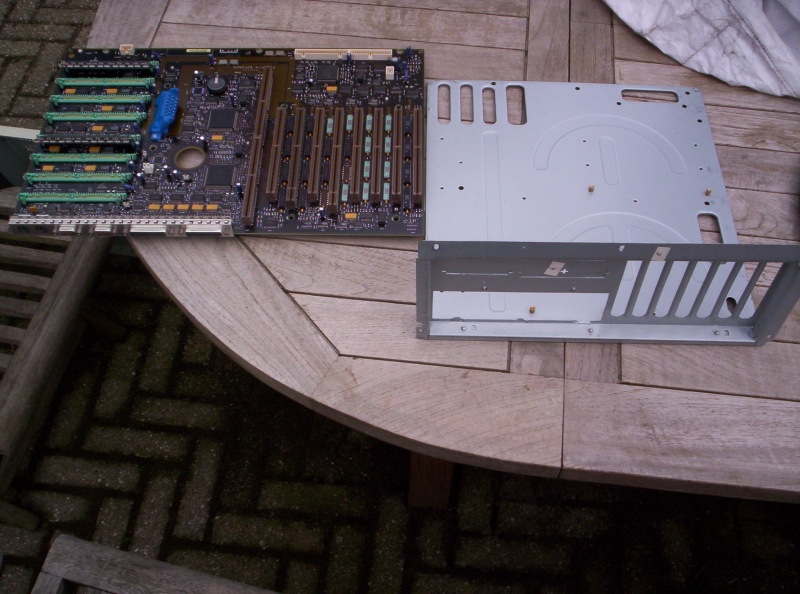
The original motherboard next to the donor tray.
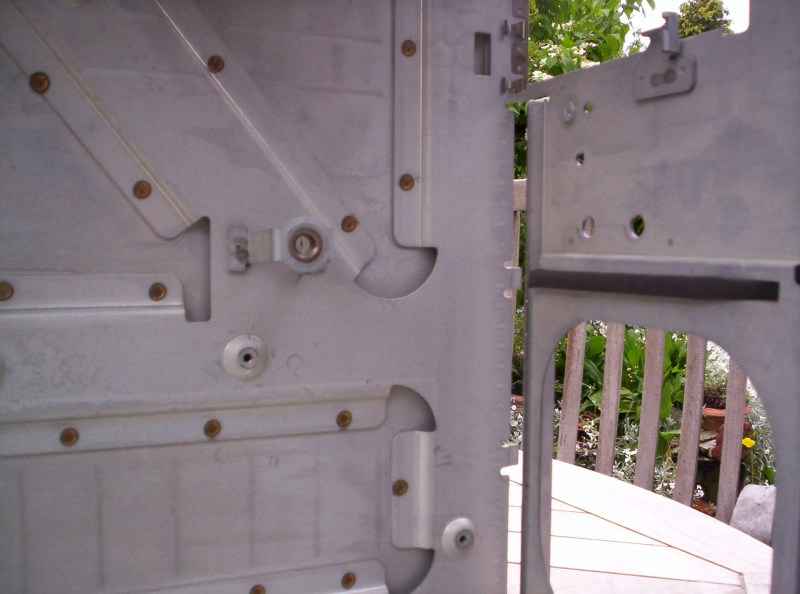
First I used a grinder to make space for the tray. Then I carefully measured where in the tray I had to drill holes to line them up with the original motherboard mounts. Uncannily, every hole but one came out wrong. I guess it's a combination of having to measure on two different surfaces that will end up offset to each other and me being clumsy and impatient. Luckily the case doesn't have a window, so no one can see that I had to file the holes a bit. All in all the tray is mounted very securely; I also drilled two holes in the back of the case to fasten the rear of the tray.
First this standoff had to be grinded off. It's what kept the original PSU in the upright position.

The tray mounted, ready for an ATX board. I had to cut a strip off the tray to make room for the drive bay assembly. Additionally, I later put pieces of electrical tape over the screws to be extra sure they won't touch the motherboard.
The rear of the mounted tray. The aluminum strip fills up excess room between the tray and the PSU.
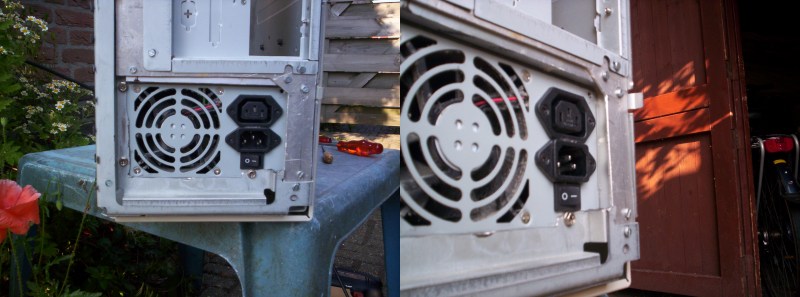
To mount the PSU I first picked a spot that would allow three of the four mounting holes an ATX PSU has to line up with the original case's rear. Then I grinded off the metal that was in the way and drilled holes that line up with the PSU's. Finally I constructed an aluminum strip to fill any excess space left due to the case's design. I admit it doesn't look all that great, but it's just the rear of the case and everything's very sturdy.
A PSU mounted to test.
|